God with No Hands
I was very excited to present our first Great Lesson in our Montessori Elementary Curriculum for this year. It was extra special because Bubs joined us this year. (See my post here on an explanation of the Five Great Lessons used in the elementary classroom.)
The first lesson begins by telling the story of how God created the Earth. The kids are always fascinated by the name of the lesson: "God with No Hands". The story goes on to explain how God with no hands or feet could have created the universe and all that is in it. In the end, the children discover that everything obeys God and he has made a plan for each and every particle that he created. There are 4 charts that go along with this lesson and 6 demonstrations. (Please note that all of these charts were drawn by hand and I have absolutely no artistic skills whatsoever. I apologize if they do not resemble the original AMI charts exactly!)
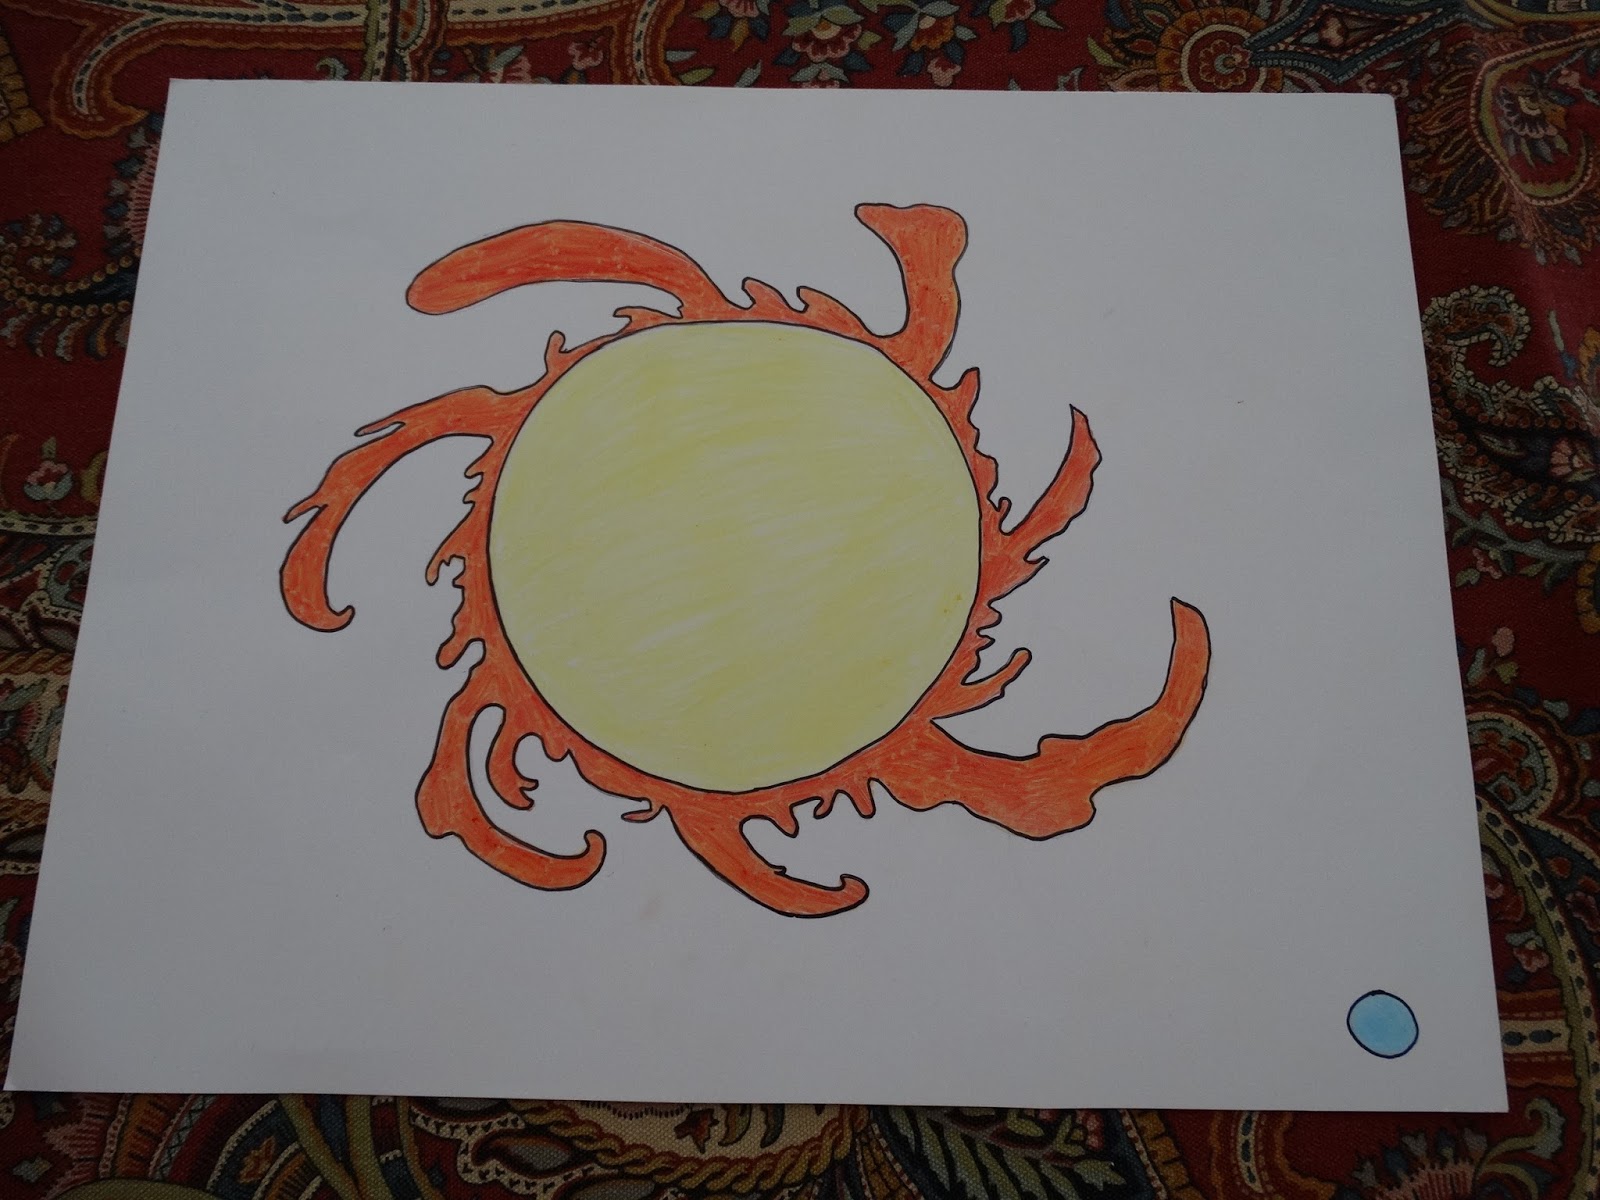 Chart 1: Earth Compared to the Sun
  Chart 2: The Dance of the Elements
 Chart 3: Volcanoes and Clouds
 Chart 4: Volcanoes and Water
 Demonstration 1: 3 States of Matter: solid, liquid, gas
Each glass is placed in front of the child, starting with the ice, and each state of matter is discussed.
 Demonstration 2: Forces of Attraction
Hole punches are slowly dropped into the water, working first from the outside, then slowly toward the middle, ending when they start to come together.
Demonstration 3: Model of a Liquid
I did not have any bebes or iron shot for this so we skipped it. Hopefully I will get these materials soon and add them to the shelf. In this demonstration, I would tip the jar of bebes from side to side to show them rolling over one another.
Demonstration 4: State of Matter and Heat
I didn't want to burn the house down so I skipped this one as well! I talked to the children when a candle is lit, the wax turns from a solid to a liquid. It does this when the wax is heated. They understood so we moved on. I chose not to melt wax, iron, and bebes over the stovetop to test out the smoke detectors, fire extinguisher, and how fast the fire engine can make it to our new house! Maybe when daddy is around, they can try this command card. Heating the different elements is supposed to demonstrate changes to the solid or a lack thereof.
 Demonstration 5: Liquids Settle According to their Weight
I'm not sure if you can see in the picture, but the middle test tube has water, then we added honey, then oil. The honey sank to the bottom, water in the middle, and oil at the top. The kids really liked this one.
 Demonstration 6: The Volcano
In this demonstration, you are supposed to light the candle and ignite the chemicals for the volcano to erupt. Ok, I am 9 months pregnant and I am not trying to get any crazy chemical burn or yet again have to call for the fire department, so we opted for vinegar and baking soda for the eruption. I do have the "scary" chemicals to make this happen with all of the bells and whistles, but I feel it will have to wait until later. There are a few pictures to follow of the children adding the ingredients and the volcano erupting.
 Adding the baking soda.
 Adding the vinegar. We added red dye.
 The anticipated ERUPTION!!
In the lesson, the children are told how a thin scum was formed and all of the elements underneath are still hot. They felt trapped and wanted to get out. (What else would they do? They followed God's command of: "If you are hot, you expand." There was no place to expand, so they burst out. They broke the skin and there was a terrible fight.
We followed up this lesson with some really cool books on volcanoes, three-part cards for the parts of the volcano, and a worksheet to label the parts.
Follow this link to see how we made our volcano.
where can I find the story "The God with no hands?
ReplyDelete