Friday, January 24, 2020

Small Bead Frame

This presentation seemed to get passed by with my older three kids, but I sat down and purchased the ACTUAL small bead frame for T-Man and the other 3 siblings after him.  I was on a tighter budget back then and had more pressing materials to buy rather than a small bead frame.  I mean, we have the large one, so can't we just use that?!  The short answer is yes, but the longer answer is no.  Clearly Maria Montessori created a smaller one for a purpose right?

The smaller frame introduces the child to addition, subtraction, and multiplication.


The first step in introducing this new material to the child is to compare the beads to the stamp game.  Hopefully the child has experience with the stamp game and would know this comparison.  Show the child that the green 1 unit tile from the stamp game is the same as 1 green unit bead on the frame.  Do this for all four categories.  This is where it is very helpful to have the small bead frame compared to the large one!  There is a lot less explaining about how the child would need to ignore the bottom few rows of beads since the large bead frame goes up to 1 million.
 
Now the child needs to know how many beads are on each line.  Count the beads, one at a time, while pushing them to the right.  
 
 Then slide the 10 units back to the left and tell the child that 10 units is equal to 1 ten.
Now, push 1 ten to the right hand side.  Continue counting tens (1 ten, 2 tens, etc.) and exchange for a hundred bead.  Do the same through the thousands.


T-Man worked with static addition problems for a day or two before he quickly wanted to move along to dynamic addition.  Unfortunately, I didn't take pictures of his static addition.  For an example of static vs. dynamic, see this post from the stamp game.  Short story, static involves simple addition, while dynamic involved carrying of the numbers.  

He started by writing his equation on his small bead frame paper.  His equation is 9+7.

He moved 9 green (unit) beads to the right side of the frame.

Then he started adding 7 to the 9 green beads.  He pushed 1 bead over and stopped because he was at 10.  Then he pushed all 10 green beads back to the left and then moved 1 blue (ten) bead to the right.  He went back up to the green beads and continued counting with 2, 3, etc. until he got to 7.  

Now he took his pencil and recorded how many green beads he had.  He wrote down 6 on the green line under the units column.  He then recorded how many blue beads he had (1) and wrote it on the blue line, or the tens column.  
Here is what his answer looked like when he is done.  

He worked for awhile.

Here are more of his equations.  We will move on to larger equations in the next few weeks.  I'll try to update this post and add pictures.  


Color Changing Activity


T-Man has been working with the color tablets lately.  I decided to let him experiment making secondary colors from the primary colors.  

He started with putting a droppers worth of yellow dye in the small bowl.  

 
Then he added a dropper of red dye.

I think I took this picture before he stirred, but it will be orange.

Next, he put a dropper of red dye in the second bowl to create another secondary color.

Then he added a dropper of blue to the red bowl.

He took his handy dandy stirring spoon and discovered that he just made the color purple!  He giggled and was so excited.

Now, he took a dropper of yellow in the third bowl.

Added a dropper of blue.

Voila!  Green.

Here are the three secondary colors he made.  

The fourth bowl is for experimenting.


Wednesday, November 6, 2019

School days


Bubs was working on positioning of lines and types of angles today.

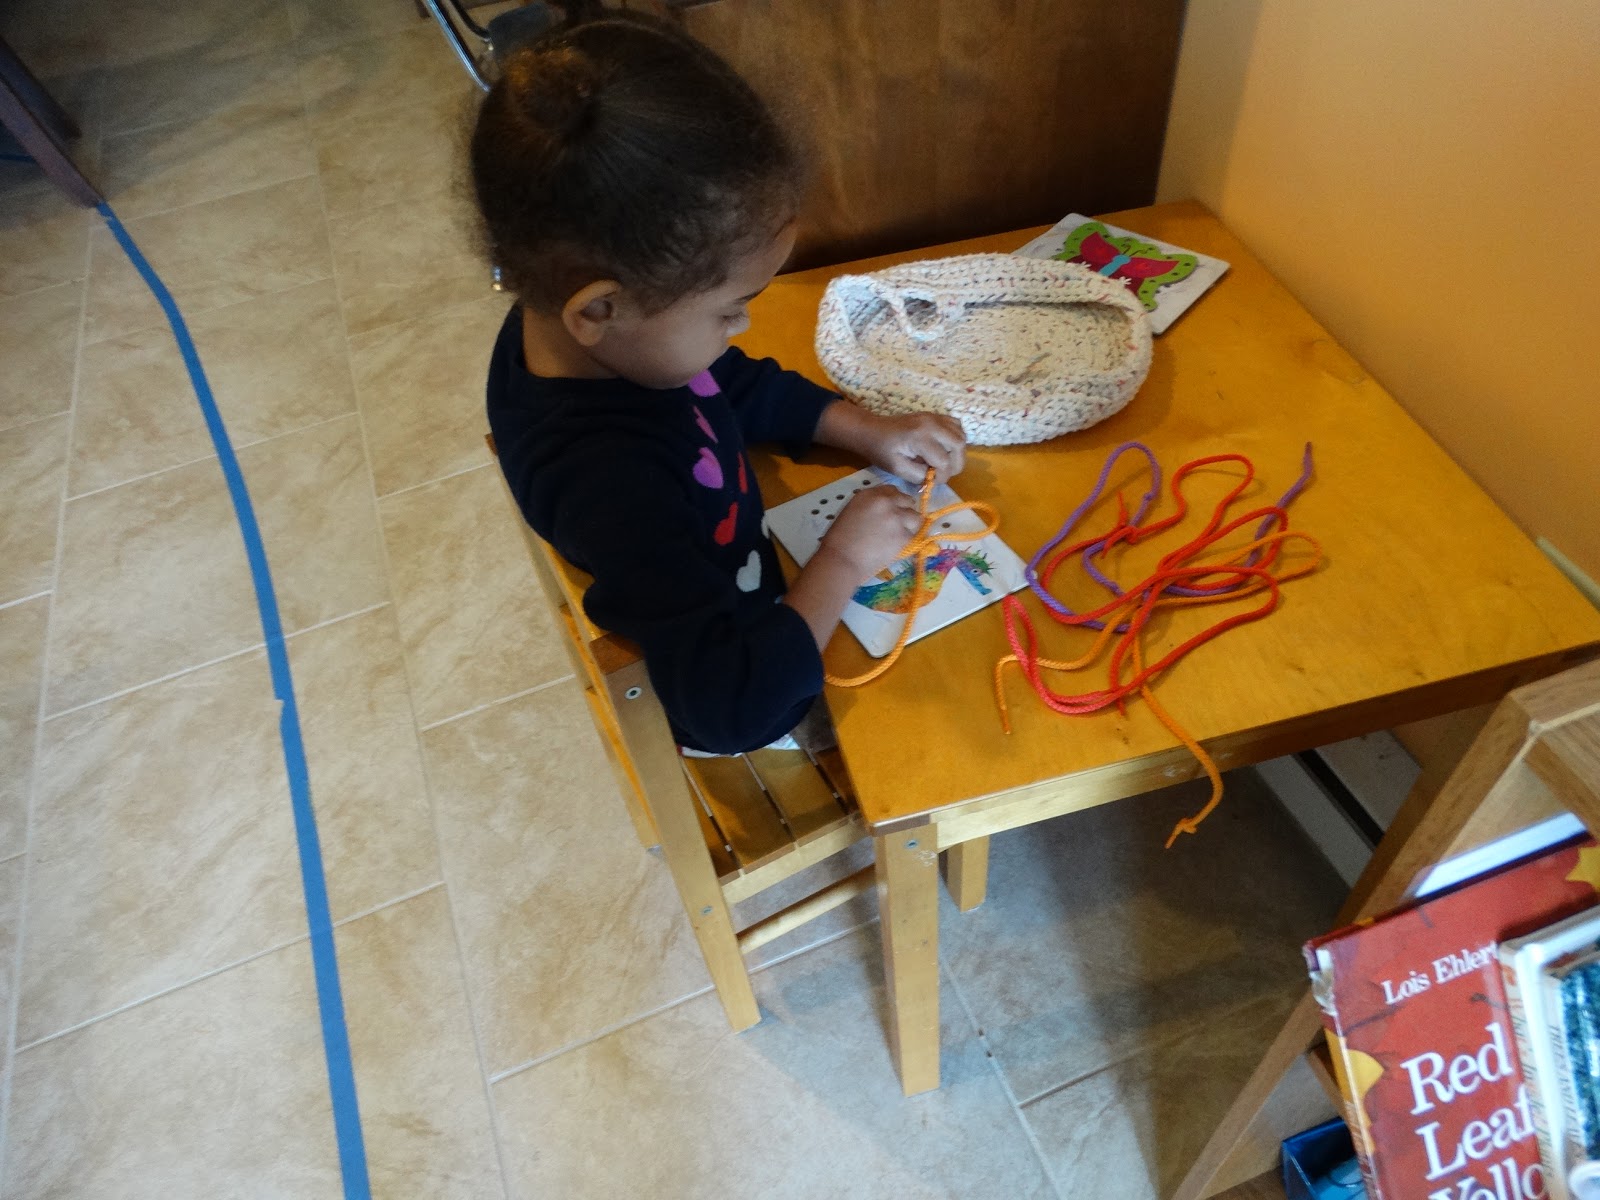
Mumbs took a stab at lacing.

Nito working on the distributive law of multiplication.
 
T-Man working on handwriting with the sand tray.  

Bubs loves these snap circuits!  He has been working on some new engineering/coding material that I should hopefully be posting about soon.  

Mumbs loves the smooth/rough boards!

Nito was presented lines today.  This is a terrible angle, but the blue water represents the horizontal line like what you would see if you are looking out at the horizon while on the beach.  He could easily visualize that since we went to the beach a few months ago.
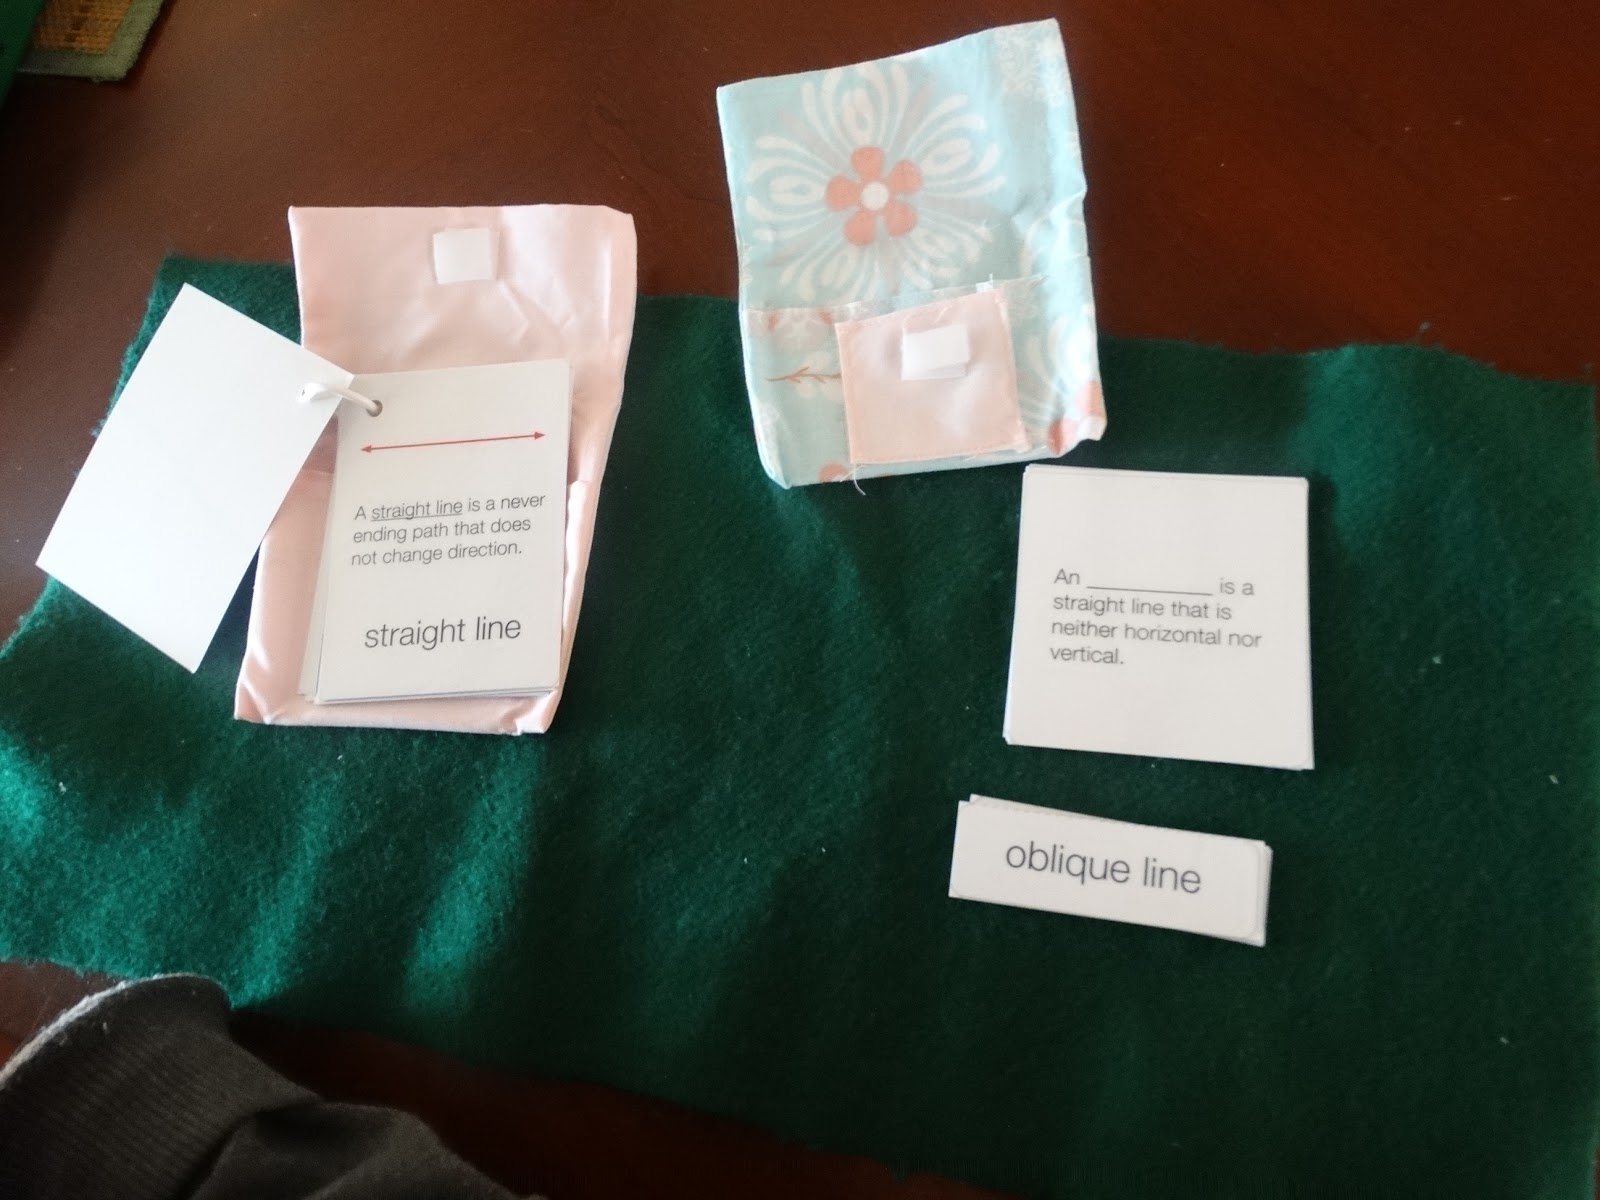
The follow up to his presentation was the nomenclature booklets.
Sorry this picture is blurry.  He tried his best to match them up.  He still needs some practice on this one.  Thankfully he can check the control booklet because I can't remember all of those things!

T-Man was finally shown watercolors.  He was so excited to be able to use the materials that he always sees his brother doing.  
 
Of course it didn't take Bubs long to get out his version of painting after he saw T-Man.

Nito started working on homophones.  He was able to name quite a few not on this list.  I think he got this pretty easy and we can move on.

I introduced the idea of magnetism to Bubs.  The first lesson was just the idea of the magnetic force and then he went around the room with his clipboard trying to stick magnets to everything.  He recorded his answers on his table.  It was super cute.  He looked all official!  All he needed was a pencil behind the ear to pull off the look!

Nito was shown addition of fractions.  Oh my goodness, for anyone who knows how animated Nito is, they would appreciate this.  We did 1/4 + 1/4.  He came up with the answer of 2/4.  Then as part of the presentation he is supposed to see if any larger fractions fit within the space on the inset (which teaches reduction of a fraction).  So he checked thirds, no.  He checked halves, YES!!  He jumped out of his chair and starting laughing, "Ha Ha Ha Ha".  He was so excited that it fit.  You can only guess his enthusiasm when he reduced 1/4 + 3/4.  Yes, it equals 1 whole!!  

Mumbs working on the binomial cube.  Does it ever surprise anyone else when you come to see your child working "next to" the work rug instead of actually on it?!  I mean, I guess I have to give her credit for getting one out.  Now, I just need her to actually use it.

Because this guy is perfectly chill not using a work rug at all.  I got this crazy, wild, colorful rug to add some fun and color to the classroom, but I don't see how they can actually see their work without a work rug, especially something like color tablets!

T-Man working on the addition strip board.  Man......I didn't have the heart to tell him that his strips were not going to fit at that particular desk.  He is so stubborn sometimes and has to learn the hard way.  Well.....he did when they all started falling off.  He threw himself on the ground and started crying.  It was actually quite comical and we all started laughing.  Then he busted out laughing and we moved him to a work rug with much more room to spread out.  


Rotation of the Earth

Ok so this presentation is a bit cray cray and hard to capture in pictures.  I tried my best!  I will continue to post as we work through the album on the subject.  I enjoyed doing this presentation with my boys, because......they are boys!  I asked them to gather the materials and they were giddy knowing that it involved bricks, a crazy lamp without its shade, string with a nut on one end and the best part which was so intriguing..........the BATHROOM!!!!  Well, I needed a dark place so what better place than that right?  I mean we are in the basement so it works perfectly since there are no windows.  That being said, don't mind the toilet, shower, whatever else crazy you might see in the background.  Focus on the materials! Ha.

I started off explaining how the Earth rotates around the sun on an invisible string, which is where the nut on a string came into play.  Now, when you are swinging this around your head for the visual, be sure not to whack someone or something in the process!  Pretty sure I hit my eye the first try.  Moving on......I told the boys that I would let them try under my supervision, but that it was not a toy and I wouldn't leave that on the shelf for them to "investigate further" with it.  We all know how that story would play out.  

I went on to explain that the Earth moves around the sun, but that it also turns on itself in the process.  In the picture above, Bubs is the sun and Nito is spinning himself dizzy while he is "trying" to circle Bubs without hitting the toilet or the shower at the same time.

Here is the fun part.  Turning off the bathroom light and turning on the lamp.  The lamp clearly represents the sun and we have the globe for our Earth.  The story continues to talk about how much of the sun's rays actually hit us and what would happen if the Earth did not turn on itself.  The lamp shines on one side of the Earth and then creates a shadow on the other side.  Bubs was quick to announce that this is how we have night and day (he clearly had this presentation with Kui when he was younger).  But for Nito and T-Man, they were just enjoying the presentation..

These charts help to show how large the sun is and how powerful the rays can be.  I don't believe you can see it in this picture, but there is a small circle on the bottom right hand side of the chart on the right.  It represents Earth.  This shows the child how small Earth is to the sun.  The chart on the left symbolizes what would happen to the Earth if it did not turn on itself.  The portion that was in the sun (the flames) would essentially burn up over time and would never be able to sustain any type of life.  The portion that was in the shade from the sun (the icicles) would freeze and also never be able to sustain any type of life.  

I basically stopped the presentation there on that day.  The boys wanted to play a game with the globe and we chose different countries.  They would make the country be sleeping, eating breakfast, taking a nap, etc.  For example, Bubs chose Japan.  He said he wanted to make Japan sleeping.  So, Nito found Japan on the globe and moved it into the shadow of the sun's rays.  Although this was a silly activity, it was a great impromptu geography lesson!