Sunday, September 4, 2016

Story of the Bible

OMG!!  A SOTW format regarding the Old and New Testaments of the Bible?!  I really didn't know what to do with myself when I came across these at the last homeschool conference I attended.  I was sold immediately, but I had to put on my poker face so that I could get a good deal for both sets!

We have been using these for about 5 weeks now and I am absolutely thrilled with the product.  (Please note that I am in no way affiliated with TAN books who produces Story of the Bible or Story of Civilization.  I am merely a very excited Catholic mom who has found a great resource.)

See my post on the Story of Civilization for the history curriculum we use. 
 
We got the Old and New Testament sets and this is the video lecture series for the New Testament.

Dramatized audio book

Here is a sample map from the chapter on Abraham. 
 
The children enjoyed coloring this page from the Activity book on Joseph's dream.  The children color while they are listening to the audio book.  This helps the children internalize.  (There is a formal Montessori quote from one of her books on this topic, but I couldn't find it.  So.....I gave up.)

Sample crossword puzzle from the chapter on Joseph. 

The kids had a good time make the craft for Noah's ark.  They colored and cutout the shapes here and in the picture below.

 
My previous post on Story of Civilization has a few more details of the sets.  Be sure to check it out!


Story of Civilization


Yay!  The Catholic version of Story of the World!  For those of you who have read my previous post on Story of the World, you might be confused by my sudden excitement with another History Curriculum that is essentially the same thing.  Well, if you are Catholic, like us, this is a very huge deal.  We were about to dive into Volume II of SOTW (Story of the World), but were warned of how that might affect the way you have to teach those years of history.  Short story, it's not very Catholic and we don't want to spend the majority of our time explaining to our kids the differences and defending our faith when we shouldn't have to.  Let's wait for the kiddos to get a little bit older for all of those good times to start rolling through!

We have been using this for about 5 weeks now and I am pleasantly surprised with how similar it is to SOTW and how the kids have really taken to it.  Kui especially loves the chapter video summaries because at the end, there are quizzes, image reveals, word searches, etc. that she likes to figure out.

The set that we purchased is for Volume I and includes the following:
  • Paperback book
  • Teacher's Manual
  • Activity Book
  • Test Book
  • Dramatized audio book with over 7 hrs. of listening
  • Video Lecture Series on each chapter
  • Laminated Timeline

 
This is the timeline which provides a great visual resource for the kids.  Sorry, the timeline is big and was hard to fit the entire thing in the picture.

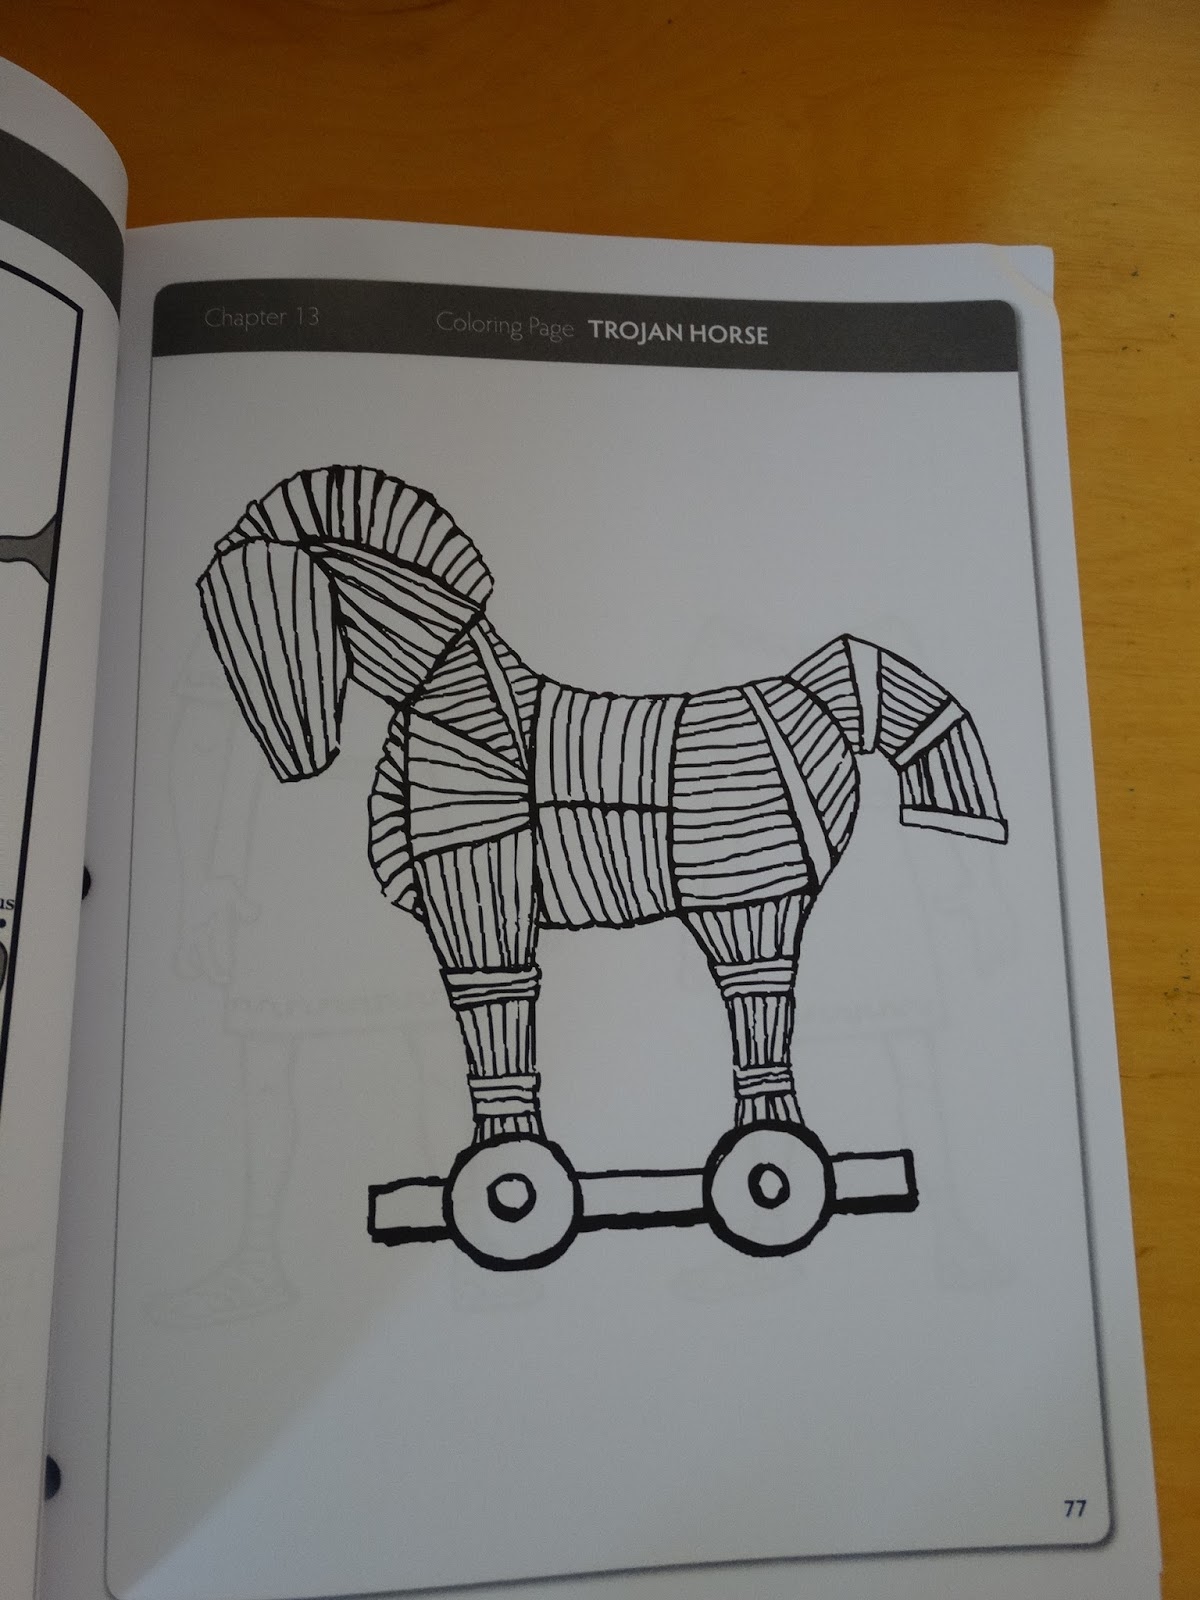
Here is a sample of what you will get in the Activity book.  It provides different maps, crafts, crossword puzzles, etc. that correspond to the different chapters.  This is from the chapter about the Trojan Horse.  The child can color this and then follow the instructions and make an actual Trojan horse with the cutouts from the two pictures below.


This is a sample of one of the maps so that the children can learn a little geography and know what part of the world each event happened.  The Teacher's manual gives you guidance on how to navigate the map.  The child may have to find a specific river and trace it in blue or find a certain city and circle it in red. 


Friday, August 26, 2016

Great Lesson #1 - God with No Hands

God with No Hands
 
I was very excited to present our first Great Lesson in our Montessori Elementary Curriculum for this year.  It was extra special because Bubs joined us this year.  (See my post here on an explanation of the Five Great Lessons used in the elementary classroom.)
 
The first lesson begins by telling the story of how God created the Earth.  The kids are always fascinated by the name of the lesson: "God with No Hands".  The story goes on to explain how God with no hands or feet could have created the universe and all that is in it.  In the end, the children discover that everything obeys God and he has made a plan for each and every particle that he created.  There are 4 charts that go along with this lesson and 6 demonstrations.  (Please note that all of these charts were drawn by hand and I have absolutely no artistic skills whatsoever.  I apologize if they do not resemble the original AMI charts exactly!)
 
 
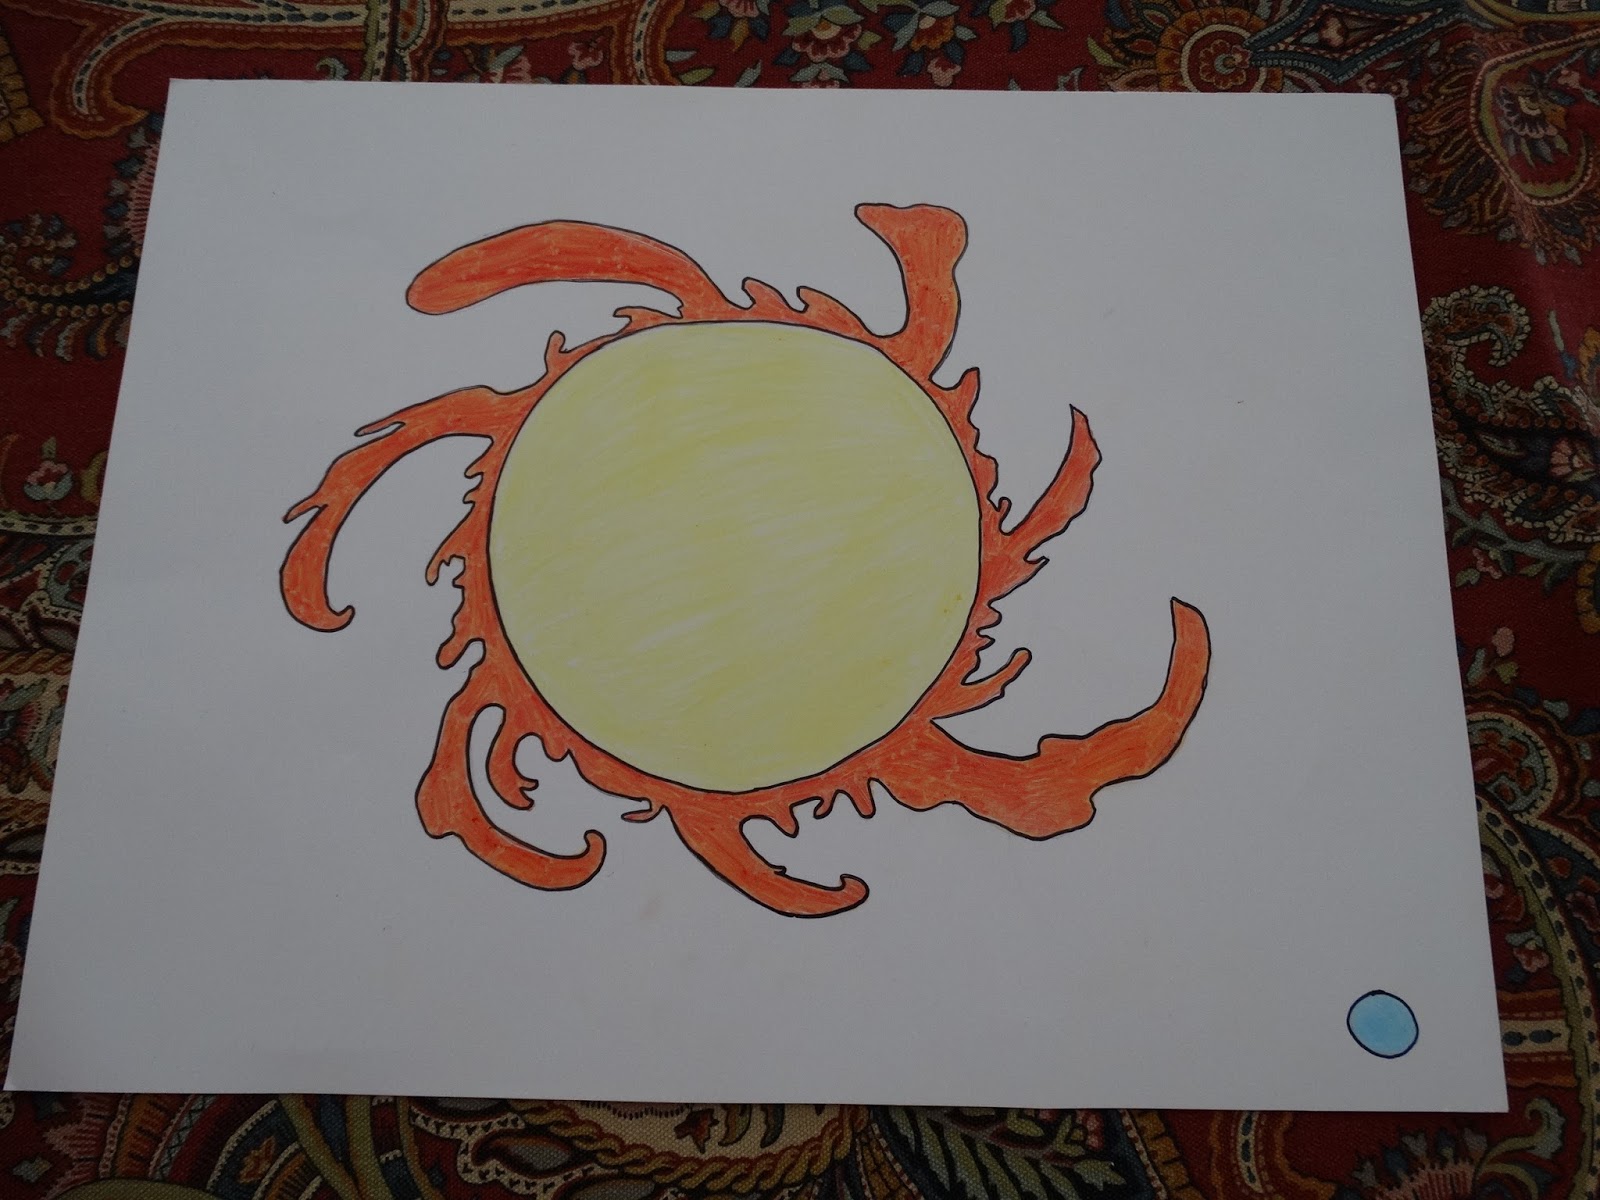
Chart 1: Earth Compared to the Sun 
 
 
Chart 2: The Dance of the Elements
 
 
 Chart 3: Volcanoes and Clouds
 
 
Chart 4: Volcanoes and Water


Demonstration 1: 3 States of Matter: solid, liquid, gas
 
Each glass is placed in front of the child, starting with the ice, and each state of matter is discussed.
 
 
Demonstration 2: Forces of Attraction
 
Hole punches are slowly dropped into the water, working first from the outside, then slowly toward the middle, ending when they start to come together.
 
Demonstration 3: Model of a Liquid
I did not have any bebes or iron shot for this so we skipped it.  Hopefully I will get these materials soon and add them to the shelf.  In this demonstration, I would tip the jar of bebes from side to side to show them rolling over one another.
 
Demonstration 4: State of Matter and Heat
I didn't want to burn the house down so I skipped this one as well!  I talked to the children when a candle is lit, the wax turns from a solid to a liquid.  It does this when the wax is heated.  They understood so we moved on.  I chose not to melt wax, iron, and bebes over the stovetop to test out the smoke detectors, fire extinguisher, and how fast the fire engine can make it to our new house!  Maybe when daddy is around, they can try this command card.  Heating the different elements is supposed to demonstrate changes to the solid or a lack thereof.


Demonstration 5:  Liquids Settle According to their Weight

 
I'm not sure if you can see in the picture, but the middle test tube has water, then we added honey, then oil.  The honey sank to the bottom, water in the middle, and oil at the top.  The kids really liked this one. 

 Demonstration 6: The Volcano
 
In this demonstration, you are supposed to light the candle and ignite the chemicals for the volcano to erupt.  Ok, I am 9 months pregnant and I am not trying to get any crazy chemical burn or yet again have to call for the fire department, so we opted for vinegar and baking soda for the eruption.  I do have the "scary" chemicals to make this happen with all of the bells and whistles, but I feel it will have to wait until later.  There are a few pictures to follow of the children adding the ingredients and the volcano erupting.

 Adding the baking soda.

 Adding the vinegar.  We added red dye.

 The anticipated ERUPTION!!
 
In the lesson, the children are told how a thin scum was formed and all of the elements underneath are still hot.  They felt trapped and wanted to get out.  (What else would they do?  They followed God's command of: "If you are hot, you expand."  There was no place to expand, so they burst out.  They broke the skin and there was a terrible fight.

We followed up this lesson with some really cool books on volcanoes, three-part cards for the parts of the volcano, and a worksheet to label the parts. 

Follow this link to see how we made our volcano.


How to Make a Volcano

Here is our completed volcano!
 
Our first Great Lesson in the Montessori Elementary Classroom is God with No Hands.  The final demonstration for that story is the very exciting VOLCANO!!  I have included some steps on how we made ours.  It is by far not the greatest or creative, but this is what we ended up with.  
 
We started with a diaper box because I didn't have any other cardboard box available at the time.  It actually worked out to be quite the perfect size.  You really just need any size of cardboard box that is high enough for the bottle you are using.  I chose to just use my empty rootbeer bottle, but we have plenty of empty beer bottles as well.  The bottle should be placed in the middle of the box, a little towards the back.  I cut the box a little taller than the height of the bottle and then left a small edge on all of the other sides.  I also cut a hole in the bottom of the box to take the bottle out for an easy cleanup.
 

I then covered the bottle with a bag so that I could easily take it out of the volcano after we paper mached it.  This way the bottle didn't stick to the paper mache.

Then we cut strips of cardboard from the leftover box.  We wadded up some old magazine pages and put them around the bottle to form the volcano shape.  We used masking tape to connect the cardboard strips together.  It looks a little crazy at this point, but stick with it and it will start to look more like a volcano.

Here comes the fun part: PAPER MACHE!!  I have always been intimidated by these words, but it is actually so easy to do.  Ok, it is very messy, but it worked.  You will need quite a few paper towels, cut into long strips.  For the paper mache mixture, we used 2 parts water to 2 parts flour + 1 T of salt to act as a preservative.  We ended up using about 8 cups of flour by the time we were done.

Bubs was our dipper.  He didn't care to make the actual volcano shape.  Kui did that part.  He dipped each paper towel strip in the mixture and then Kui wrapped it around the cardboard strips that we taped together.
 
This is what it looks like as you get a few strips in place.  We then covered the whole inside and then over the edge a little to make sure we made it more waterproof.

This is what it looked like after we were done with the paper mache.  It had to dry in the sun for two solid days!!  I think maybe we saturated the cardboard box just a little more than we should have.  Good thing we have the summer sun to help dry it out!
 
Then you can paint it to your liking.  We have the background painted blue, the ground is green with spots of lighter green and brown, the volcano is brown, and we added some red paint to mimic the lava that will come out when we erupt the volcano.  There is a more detailed description at stormthecastle.com
 
I have included the Geography Command Card here so that you know how to present this demonstration along with the measurements for the eruption.  Just a note:  We had to add a little more baking soda and vinegar than what the card suggests to make it overflow really well.
 
 
Have fun and enjoy!

Thursday, August 25, 2016

The Five Great Lessons of Montessori Elementary

The Five Great Lessons is a group of impressionistic stories that are meant to provide elementary students with a “big picture” of the world.  At this stage of development, most of the children are becoming aware of the world and how they fit into it.  These lessons can spark the imagination and help children to think not only of the past, but of the future as well.  Stories speak so well to children at this age and the re-telling of these important Cosmic lessons motivate children to research areas that are of interest to them.  

Each of the Great Lessons helps the child to dive deeper into different areas of the classroom.  They might be encouraged to explore topics such as history, geography, math, science and language. Perhaps the most important, children acquire gratitude for those who have come before them.  These lessons contain a great deal of information so it is important to give the children ample time to discover different areas in each lesson. 

I have listed out some possible topics that could be explored within each Great Lesson.  This list is not extensive.  I found it somewhere, but can't remember the website.

The First Great Lesson: The Beginning of the Universe and Earth

  • The Universe
  • The Solar System
  • Composition of the Earth
  • Volcanoes
  • Rocks
  • Chemistry: The Three States of Matter
  • Creation Stories
The Second Great Lesson: Life Comes to Earth
  • Bacteria
  • Plants (classification and parts of: ferns, conifers, and flowering plants)
  • Fossils
  • Trilobites
  • Dinosaurs
  • Living and Nonliving
  • Classification Work
  • Kingdom Animalia (Classification and parts of: insects, fish, amphibians, reptiles, birds, mammals)
  • Oceans and Ocean Life
  • Supercontinents (Pangaea, Laurasia, Gondwanaland)
  • Continents
  • Mountains
  • Oxygen & Carbon Dioxide

The Third Great Lesson: Humans Come to Earth
  • Ancient Civilizations
  • Fundamental Needs
  • The History of:
    • Tools
    • Food preparation and Storage
    • Clothing
    • Shelter
    • Transportation
    • Medicine
    • Defense
    • Art
    • Religion/Spirituality
 
The Fourth Great Lesson: How Writing Began

History of Writing
  • Hieroglyphic and Cuneiform Writing
  • Different Alphabets
  • Different Writing Systems (letters and characters)
  • Ancient Civilizations
  • The Printing Press

The Fifth Great Lesson: How Numbers Began
  • History of Numbers
  • History of Mathematics
  • Different Number Systems
  • How ‘zero’ came to be
  • The invention of the Calendar
  • Systems and Units of Measurement
  • Economic Geography

As you can see, there is plenty of material to cover in between the telling of the Lessons. While it is important to tell the First Great Lesson as early in the year as possible, time should be left between the Great Lessons to give your child the opportunity to explore.  Also to note, the Great Lessons are repeated every year throughout the elementary span of 6 years.  Each year, the child will learn something new or dig a little further into a topic that particularly interests them.  I have presented these to my daughter a few times now and she pulls out different information from them every year because she is a little older and in a different stage of development.