Showing posts sorted by date for query elementary. Sort by relevance Show all posts

Wednesday, November 6, 2019

Checkerboard


Ah the checkerboard.......It has to be one of my favorite lower elementary materials.  I'm not quite sure why I haven't posted on this yet.  My mother, Gigi, was very kind to make me this checkerboard which can be rolled up and stored like a work rug for the child.  She saved me some precious moolah and also made a decimal checkerboard while she was at it.  It's great to have a supportive grandmother!

The checkerboard has 4 rows and 9 columns of squares arranged in hierarchical colors: green for units, blue for tens, red for hundreds, and green for thousands.  These are the same colors used in previous math materials so the child will be very familiar with them.  The columns range from unit to millions while the individual squares account for units to one billion.  The individual rows not only represent value, they represent the partial products of multi-digit multiplication!  The child can make some large numbers (which Bubs was always excited to do).

Some people are hesitant to start this work for a child if the child has not learned all of his multiplication facts.  However, because the child uses bead bars, there is no need to have the facts memorized.  The child can multiply large numbers while skip counting with the bead bars.  After much use of this material, the facts are mastered. 

Nito has already worked with the checkerboard before.  Today, I presented the 2 digit multiplicand and 2 digit multiplier.  I will walk you through the steps.
The problem is 79 x 12.  He uses the color coded numbers I made for him which correspond to the square on the checkerboard. (Green for unit, blue for ten, etc.)
First, he turns over the ten card for both the multiplicand and the multiplier.  He is focusing on the units first.  He will multiply 9 x 2 which is 18.  He places a brown 8 bar in the units square and a red 1 bar in the tens square.  This now reads "18".  
Second, he turns over the 9 unit card and turn the 7 tens card face up.  Now he is ready to multiply 7 and 2 which is 14.  Now, for the child who is first learning this material, they will focus on the fact that it is 14.  However, as the child progresses, we point out to them that it is really 7 tens and 2 units which makes it 70 x 2.  Therefore the answer is 140, not 14.  This is why you see the yellow 4 bead bar in the tens square and the red 1 bar in the red hundreds square.  The green unit square still only has the brown 8 bar.  
Now the child has successfully multiplied the multiplicand by the unit of the multiplier.  It is time to move on the ten of the multiplier which is the blue 1 card.  The child starts over with the green 9 unit card being flipped over and will now multiply the 9 by the 1.  A blue 9 bar is placed in the ten square above the green unit square.  Remember, we are really multiplying 9 x 10.  This makes the unit have zero and the ten have a 9 bar.
The steps are repeated as before.  The green unit card is flipped over and the blue ten card is face up to now multiply 7 x 1 or really 70 x 10 giving us 700.  We place a white 7 bar in the red hundred square.
The multiplying is complete and now requires us to push all of our beads together.  We do this in an orderly fashion of pushing each column diagonally to the left staying with the same color squares.  For example, the blue 9 bar from the ten square on the second row gets pushed diagonally to the left to end up in the blue 10 square on the bottom row.  Continue with all squares with beads.
Once all of the beads have been pushed to the bottom row, exchanging must begin.  Starting with the units and working left, start exchanging bead bars to end up with one per square. 
The final answer should look like this.  
79 x 12= 948

Wednesday, October 3, 2018

We are BACK!

So....it has been quite some time since I have posted.  Another baby has joined our family and we are still in a waiting game with our classroom.  It is under construction AGAIN!  This time, we are putting tile down to avoid any more delays in our schooling if our cool pipe wants to burst again.  I have to admit that it is quite frustrating and a huge disruption to our school year.  However, I am trying to stay patient and joyful in the meantime.  So, for awhile, the pictures that I post will be from my main living area, not the classroom.  Once we are back in business, I will post a new tour of the classroom. 

Just to keep you up to date, here is a run down of the ages of children we have:
Kui - Upper Elementary
Bubs - Lower Elementary
Nito - Primary/Transitioning into Lower Elementary
T-Man - Primary
Mumbs - Toddler
The baby - Infant

Let me first tell you that homeschooling Montessori is quite the challenge, but it absolutely can be done.  I have met my fair share of challenges, but the connection with the materials and the children always bring me back to why I do this in the first place.  For example, I was in sort of a slump with the classroom situation, but I was able to present T-Man the spindle rods, Nito the stamp game, Bubs the number base board, etc. and I instantly had my joy back!  My husband even commented on how joyful I was that day when he was working from home. 

I hope to break down some new presentations this year, especially for Elementary.  In the meantime, here are a few pictures from the week.

T-Man is working on the cards and counters.  

Mumbs is doing what every other toddler does.  Destroys the environment!  Who doesn't love a good game of matching up the color tablets after they have been dumped upside down?  Actually T-Man saw these later and sorted them all out.  So, maybe there is some good that comes out of the chaos?!?!

Kui is doing some good ole review on the decimal board.  

Bubs is working on an outline using our writing program, IEW.  See that post here.

T-Man's work with the number rods and cards.  I think he had some help from Bubs (who was trying to get out of his own schoolwork!).

Saturday, April 15, 2017

Great Lesson #2 - The Coming of Life Timeline


I am updating my original post from a few years ago on the second great lesson in the Montessori Elementary Curriculum: The Coming of Life. This lesson revolves around the Timeline of Life, a long chart with pictures and information about microorganisms, plants, and animals that have lived (or now live) on the earth.  This timeline has really opened up the classroom for plenty of research.  Here are some of the areas which can be studied (list taken from Montessori for Everyone):
  • Biology: cells, organized groups, five kingdoms, specimens, dissection, observation, use of microscope
  • Botany: study of plants, classification, functions, parts of plants (seed, fruit, leaf, stem, root, flower), types of plants
  • Habitats: location, characteristics, food chains/webs, symbiosis, adaptation, ecosystems, conservation
  • Ancient Life: eras of the earth, evolution, extinction, fossil records, excavation
  • Animals: classification, needs, similarities/differences, human systems, nutrition, hygiene
  • Monera, Protista, and Fungi Kingdoms: what they are, classification, observation
This new section of materials has definitely grabbed the attention of the boys.  I mean baskets full of dinosaurs and animals is much better than doing fractions!  There is a reason why I haven't gotten these materials sooner.  Perhaps it is the way that my boys turn into crazy people and start running around the classroom attacking each other or perhaps it was a lack of time.  Either way, I finally got these situated and the boys were very appreciative for this presentation. 

The story for this presentation is very informative and actually interesting.  It will easily hold the attention of your child.  You also have a bargaining tactic......baskets of exciting new objects to touch and work with!  This is the beginning of the timeline.  It starts with the Age of Invertebrates, also known as the Cambrian and Ordovician time period.  Don't mind the half colored part at the top of the timeline.  Kui never finished coloring it when she was presented this awhile ago.  However, it is still quite usable.  

This is the Age of Fishes, also known as the Paleozoic Era.

My boys favorite section of the timeline - DINOSAURS!!  This is the Age of Reptiles, also known as the Mesozoic Era.

This is the Age of Mammals, also known as the Cenozoic Era.

Here is a different angle with the objects.  I have to say that the cave woman and child in the top right hand corner are a bit scary to look at!  

With a little research, I found this teacher who drew her own timeline and made it into a printable format!! Yay!!  All I had to do was print it out and laminate it.  Now, if you look up close, my laminator went on the fritz towards the end of the timeline and it has some bubbles.  It was quite the process trying to laminate a sheet so long! Totally usable though and the older kids are now able to recreate their own timeline, but in a user friendly size.  I never knew Kui was quite the artist.  Clearly she doesn't take after her mother!


This timeline also has fewer pictures which makes the idea of recreating it much easier.

There are two supplements that I came across for this timeline.  I got the books here. It goes into detail on most of the pictures from the timeline.  The kids would find something they were interested in, like trilobites, and then find that page in the book to see more information on it.  Kui went a little bit further on a few items so we then used the library to find books on the subject.

Sample page from the Paleozoic Era book.

Here are a few samples from the Mesozoic and Cenozoic Era book.

Here are just a few books that I got from the library on the different topics that are discussed on the timeline.  I actually went a little overboard with the amount of books I loaned and essentially maxed out all of our cards on the book limit.

The kids each had their timeline laid out and made the colored pencils the middle point.  We wouldn't want their timelines to touch now would we?!  I will try to remember to add pictures of their completed timelines to this post.

Friday, August 26, 2016

Great Lesson #1 - God with No Hands

God with No Hands
 
I was very excited to present our first Great Lesson in our Montessori Elementary Curriculum for this year.  It was extra special because Bubs joined us this year.  (See my post here on an explanation of the Five Great Lessons used in the elementary classroom.)
 
The first lesson begins by telling the story of how God created the Earth.  The kids are always fascinated by the name of the lesson: "God with No Hands".  The story goes on to explain how God with no hands or feet could have created the universe and all that is in it.  In the end, the children discover that everything obeys God and he has made a plan for each and every particle that he created.  There are 4 charts that go along with this lesson and 6 demonstrations.  (Please note that all of these charts were drawn by hand and I have absolutely no artistic skills whatsoever.  I apologize if they do not resemble the original AMI charts exactly!)
 
 
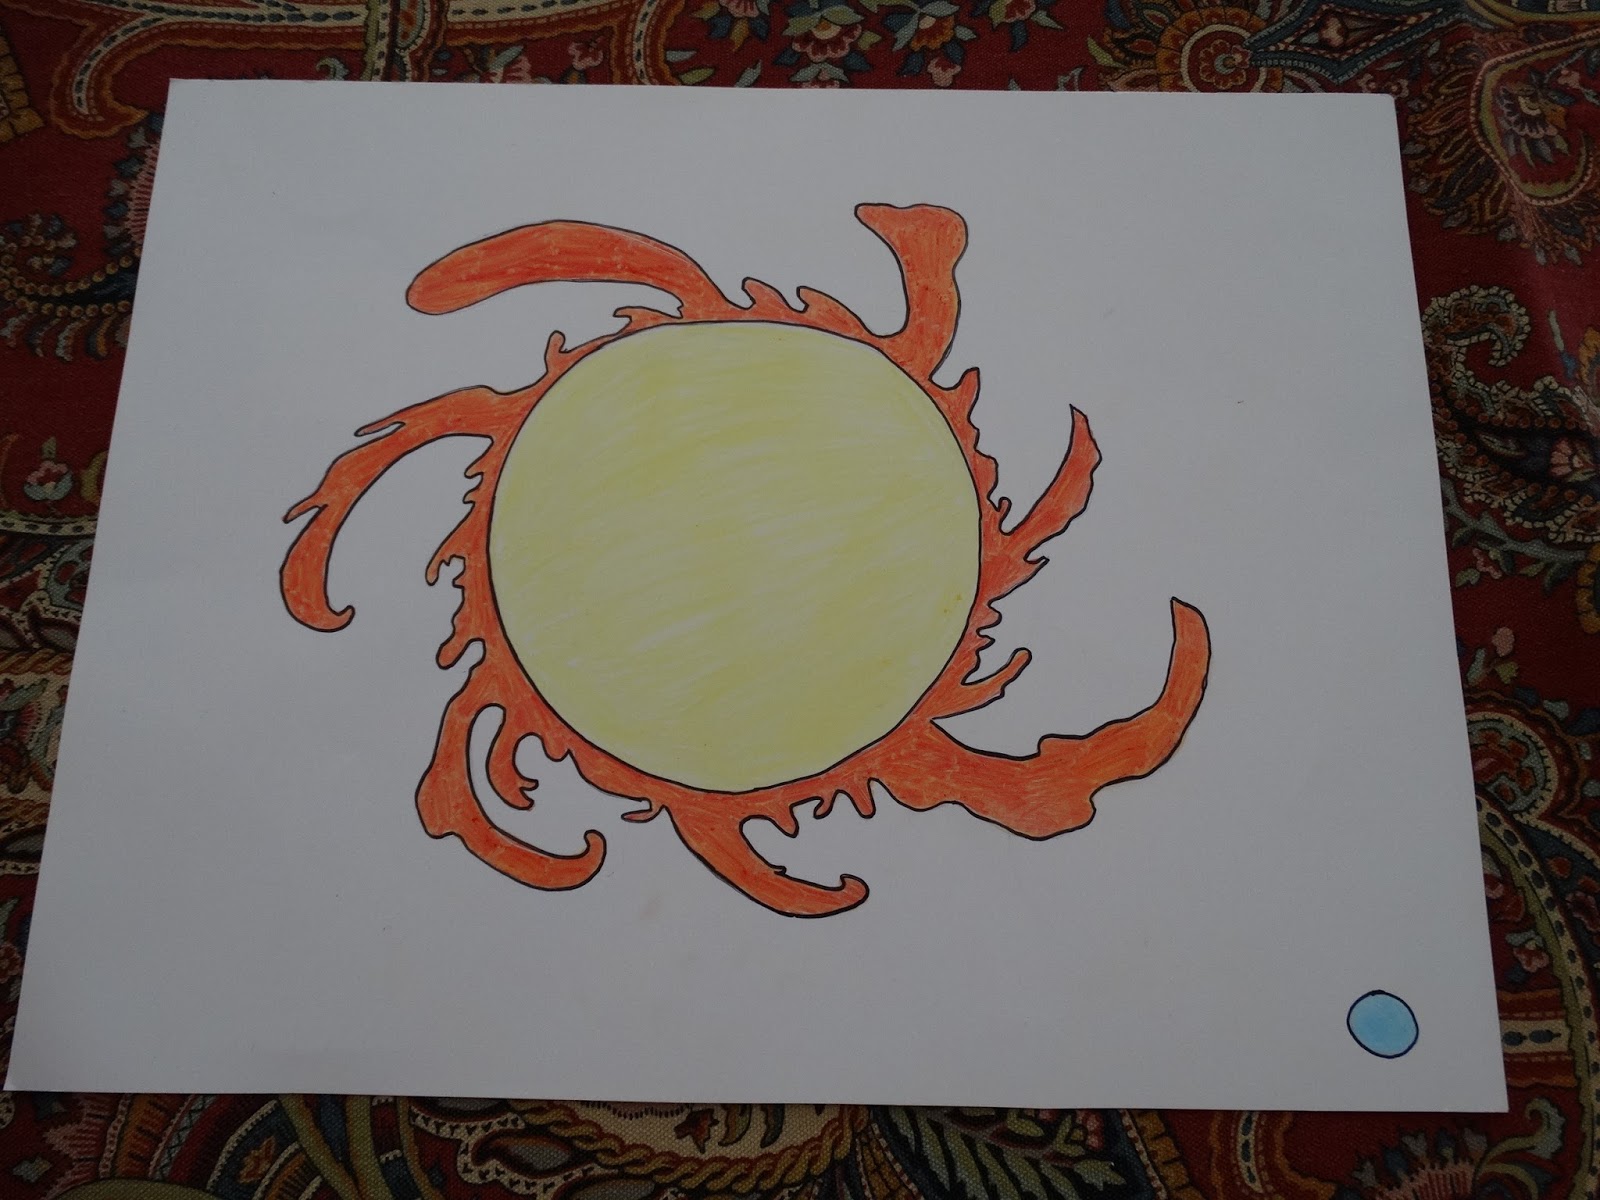
Chart 1: Earth Compared to the Sun 
 
 
Chart 2: The Dance of the Elements
 
 
 Chart 3: Volcanoes and Clouds
 
 
Chart 4: Volcanoes and Water


Demonstration 1: 3 States of Matter: solid, liquid, gas
 
Each glass is placed in front of the child, starting with the ice, and each state of matter is discussed.
 
 
Demonstration 2: Forces of Attraction
 
Hole punches are slowly dropped into the water, working first from the outside, then slowly toward the middle, ending when they start to come together.
 
Demonstration 3: Model of a Liquid
I did not have any bebes or iron shot for this so we skipped it.  Hopefully I will get these materials soon and add them to the shelf.  In this demonstration, I would tip the jar of bebes from side to side to show them rolling over one another.
 
Demonstration 4: State of Matter and Heat
I didn't want to burn the house down so I skipped this one as well!  I talked to the children when a candle is lit, the wax turns from a solid to a liquid.  It does this when the wax is heated.  They understood so we moved on.  I chose not to melt wax, iron, and bebes over the stovetop to test out the smoke detectors, fire extinguisher, and how fast the fire engine can make it to our new house!  Maybe when daddy is around, they can try this command card.  Heating the different elements is supposed to demonstrate changes to the solid or a lack thereof.


Demonstration 5:  Liquids Settle According to their Weight

 
I'm not sure if you can see in the picture, but the middle test tube has water, then we added honey, then oil.  The honey sank to the bottom, water in the middle, and oil at the top.  The kids really liked this one. 

 Demonstration 6: The Volcano
 
In this demonstration, you are supposed to light the candle and ignite the chemicals for the volcano to erupt.  Ok, I am 9 months pregnant and I am not trying to get any crazy chemical burn or yet again have to call for the fire department, so we opted for vinegar and baking soda for the eruption.  I do have the "scary" chemicals to make this happen with all of the bells and whistles, but I feel it will have to wait until later.  There are a few pictures to follow of the children adding the ingredients and the volcano erupting.

 Adding the baking soda.

 Adding the vinegar.  We added red dye.

 The anticipated ERUPTION!!
 
In the lesson, the children are told how a thin scum was formed and all of the elements underneath are still hot.  They felt trapped and wanted to get out.  (What else would they do?  They followed God's command of: "If you are hot, you expand."  There was no place to expand, so they burst out.  They broke the skin and there was a terrible fight.

We followed up this lesson with some really cool books on volcanoes, three-part cards for the parts of the volcano, and a worksheet to label the parts. 

Follow this link to see how we made our volcano.


How to Make a Volcano

Here is our completed volcano!
 
Our first Great Lesson in the Montessori Elementary Classroom is God with No Hands.  The final demonstration for that story is the very exciting VOLCANO!!  I have included some steps on how we made ours.  It is by far not the greatest or creative, but this is what we ended up with.  
 
We started with a diaper box because I didn't have any other cardboard box available at the time.  It actually worked out to be quite the perfect size.  You really just need any size of cardboard box that is high enough for the bottle you are using.  I chose to just use my empty rootbeer bottle, but we have plenty of empty beer bottles as well.  The bottle should be placed in the middle of the box, a little towards the back.  I cut the box a little taller than the height of the bottle and then left a small edge on all of the other sides.  I also cut a hole in the bottom of the box to take the bottle out for an easy cleanup.
 

I then covered the bottle with a bag so that I could easily take it out of the volcano after we paper mached it.  This way the bottle didn't stick to the paper mache.

Then we cut strips of cardboard from the leftover box.  We wadded up some old magazine pages and put them around the bottle to form the volcano shape.  We used masking tape to connect the cardboard strips together.  It looks a little crazy at this point, but stick with it and it will start to look more like a volcano.

Here comes the fun part: PAPER MACHE!!  I have always been intimidated by these words, but it is actually so easy to do.  Ok, it is very messy, but it worked.  You will need quite a few paper towels, cut into long strips.  For the paper mache mixture, we used 2 parts water to 2 parts flour + 1 T of salt to act as a preservative.  We ended up using about 8 cups of flour by the time we were done.

Bubs was our dipper.  He didn't care to make the actual volcano shape.  Kui did that part.  He dipped each paper towel strip in the mixture and then Kui wrapped it around the cardboard strips that we taped together.
 
This is what it looks like as you get a few strips in place.  We then covered the whole inside and then over the edge a little to make sure we made it more waterproof.

This is what it looked like after we were done with the paper mache.  It had to dry in the sun for two solid days!!  I think maybe we saturated the cardboard box just a little more than we should have.  Good thing we have the summer sun to help dry it out!
 
Then you can paint it to your liking.  We have the background painted blue, the ground is green with spots of lighter green and brown, the volcano is brown, and we added some red paint to mimic the lava that will come out when we erupt the volcano.  There is a more detailed description at stormthecastle.com
 
I have included the Geography Command Card here so that you know how to present this demonstration along with the measurements for the eruption.  Just a note:  We had to add a little more baking soda and vinegar than what the card suggests to make it overflow really well.
 
 
Have fun and enjoy!